What Bottom Bracket Fits The Spindle Of My Bike?
When it comes to finding the correct components for your bike, it can be very challenging. There are a lot of different industry standards available, and the last thing you want when working on your bike is the wrong part stopping you from riding.
One component a lot of cyclists struggle to get right is the bottom bracket. There are many different types, and getting the correct one can be challenging. Not only that, fitting the wrong one can cause damage to your bike that can’t be repaired.
In this article, we will be telling you not just what bottom bracket fits the spindle of your bike but also how to pick the correct bottom bracket overall. We are going to be discussing everything you need to know.
- The Easy Way
- Shell Type
- Crankset Internal Capability (Diameter)
- Spindle Length (Width)
- How To Install A Bottom Bracket
The Easy Way
The easy way to find the bottom bracket is to visit the manufacturer’s website and look at their specifications. For example, if you use an Aldhu Carbon Gravel Rotor Crankset, all the information is displayed on the product page here.
Shell Type
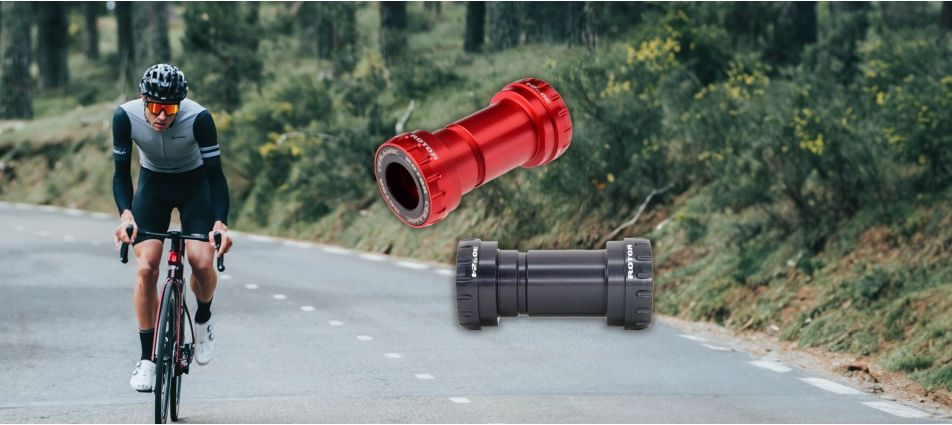
The first consideration you will need to make when it comes to finding the right bottom bracket for you is the shell type. Typically, you either get Press Fit Or Threaded. A press fit will be smooth on the inside of the bike, and a threaded will have a screw-in pattern.
Press-fit bottom brackets are required to be pressed in and typically are much larger in diameter than a threaded bottom bracket and sit flush inside the frame. They are excellent for aerodynamics and frames, which are wide where the bottom bracket sits.
Threaded bottom brackets have a screw thread on both the shells and the bike's inside. Instead of being pressed, they just screw in and tighten up. They are the most common type and slightly smaller in diameter compared to a press fit.


Threaded Standards
It’s also very good to speak about threaded standards. There are typically two different types. You have BSA, which is the British standard thread and the most common. Then you have ITA, which is Italian standard threading.
These are not interchangeable, and you can seriously damage a bike if you choose the wrong type. Researching your bike to ensure you get the correct threading when ordering a bottom bracket is always a good idea.
Crankset Internal Capability
Next, we have crankset capability. It’s also very good to check that the bottom bracket will work with the crankset you are using. The two measurements you are going to need to check are the internal diameter and spindle length.
The internal diameter is generally either 24mm or 30mm. You can check this with a tape measure or vernier caliper. If you have the wrong size, you can do very little without changing the crankset or bottom bracket itself.
Spindle Length (Width)
Then, we have the spindle length. This is also referred to as the width of the bottom bracket. This is a very important measurement, as it’s vital to lock the crank in place. You can measure this in two ways: on the bike or on the crank itself.
The easiest way to check the spindle length is to visit the manufacturer's website. To measure the spindle length with a tape measure, you have to remove it, then measure from the back of the crank to the end of the spindle where the other crank arm slides on. Some bottom brackets can work with a variety of different spindle lengths. It’s important to make sure the length you are using is going to work.
How To Install A Bottom Bracket
Installing a bottom bracket is much easier than you might think. Here’s what you need to know. Firstly, let's start with the tools you are going to need:
- Bottom Bracket Tool
- Crankset Tool
- Allen Keys
- Anti-Seize Grease
Step One: Remove The Crank
The first step you are going to need to tackle is removing the crank. You will need to use the Allen keys to do this. You will start by undoing the pinch bolts, unscrewing the crank bolt, and unlocking the safety. Then the crank arm should come off.
Once the left-hand crank arm is off, you should be able to push the right-hand side out, and then the cranks should be free. It would help if you put this in a safe place, ready to put it back on later.
Step Two: Replace The Bottom Bracket
Next, you are going to need to replace the bottom bracket. Remove the old bracket by inspecting the bottom bracket and going the opposite way to tighten, which is typically marked on the shell.
Each side of the bottom bracket comes undone differently, so ensure you’re going in the correct direction.
Then, clean the bottom bracket shell, put some grease in, and tighten the new bottom bracket to the manufacturer’s torque specification. Normally, it’s around 40nm, but check as it can differ.
Step Three: Install The Crank
Finally, you are going to want to install the crank. This is going to be the opposite of how you removed it. Install the right-hand side, add the left-hand side arm, tighten with the crank bolt, and then tighten the pinch bolts up to the manufacturer’s specification, typically 14nm.
Then, check everything is nice and tight and prepare to take the bike out for a test ride. It should feel smooth and solid, and you should have no random clicks or creaking.
A Final Note
Getting the right bottom bracket can be challenging, but it’s vital you have the correct one. We hope you enjoyed this article and that it taught you everything you need to know when it comes to getting the right bottom bracket for you.


